
安装:
yum -y install epel-release @gnome-desktop xrdp tigervnc-server
systemctl enable gdm.service
vncpasswd root #输入两次密码
systemctl start xrdp
systemctl enable xrdp
xrdp会占用三个端口来提供服务,分别是3389、3350、5910。
打开运行框:
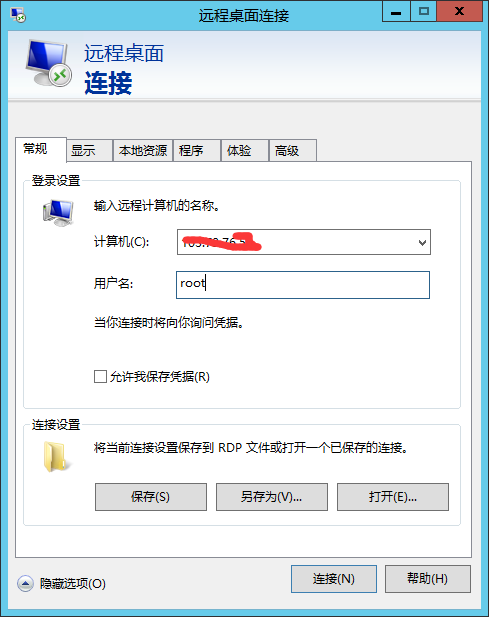
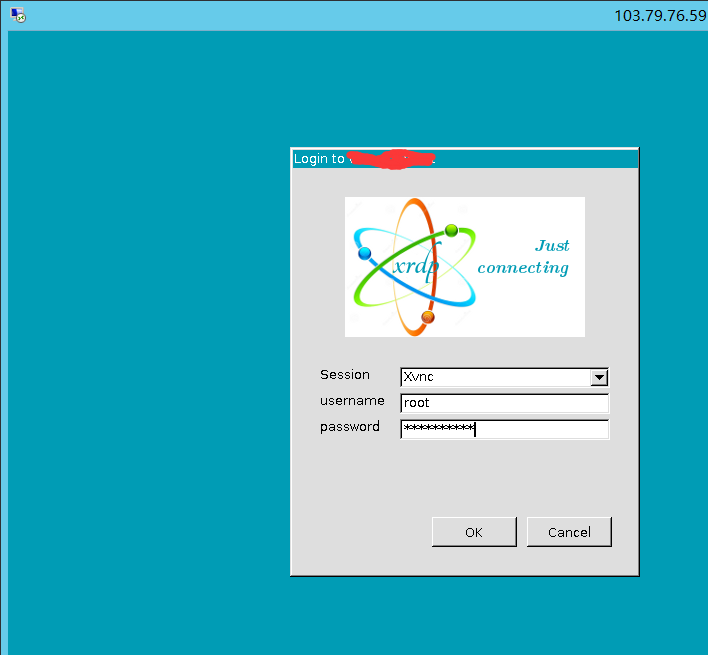
点击连接:
第一次进入需要设置下(按提示操作即可):
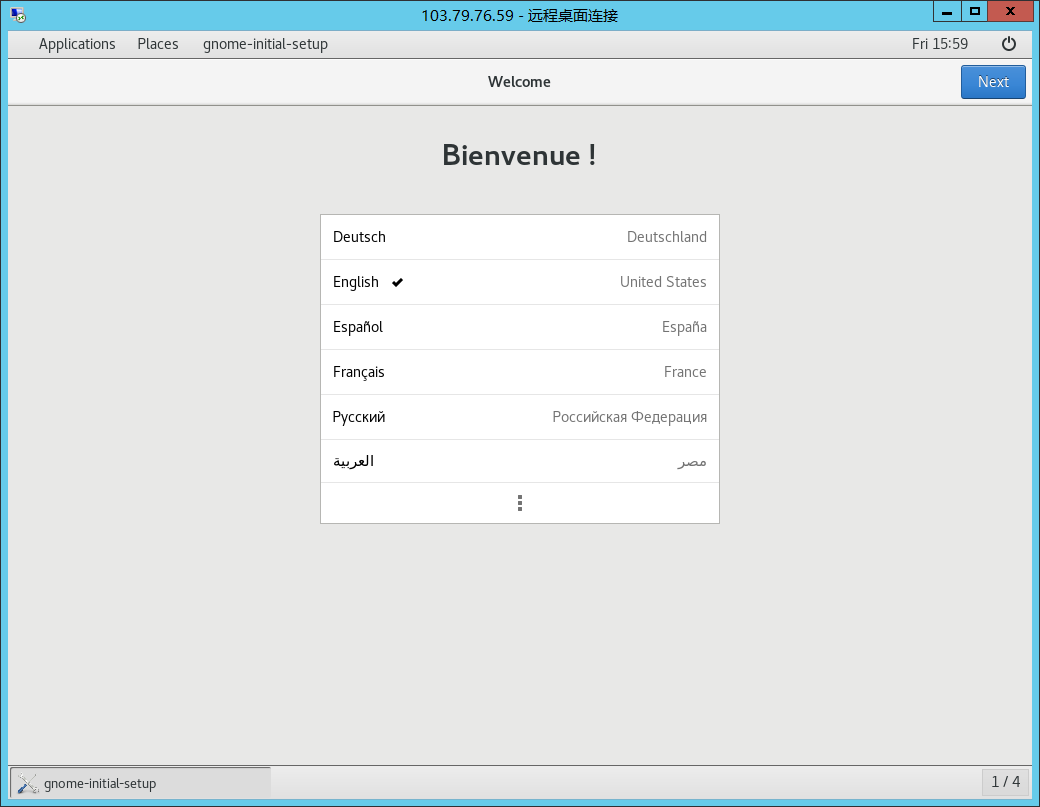
完成:

yum -y install epel-release @gnome-desktop xrdp tigervnc-server
systemctl enable gdm.service
vncpasswd root #输入两次密码
systemctl start xrdp
systemctl enable xrdp

相关热词搜索: